
I took a little bit of time yesterday morning to play around with a kitchen layout on the IKEA kitchen planner based on the new idea of moving our kitchen to the breakfast room area. If you missed that plan, you can go back one post and read about the decision-making process and why I’ve chosen to do things that way.
But if you don’t want all of the explanations and you just want to see the floor plan, this is it…

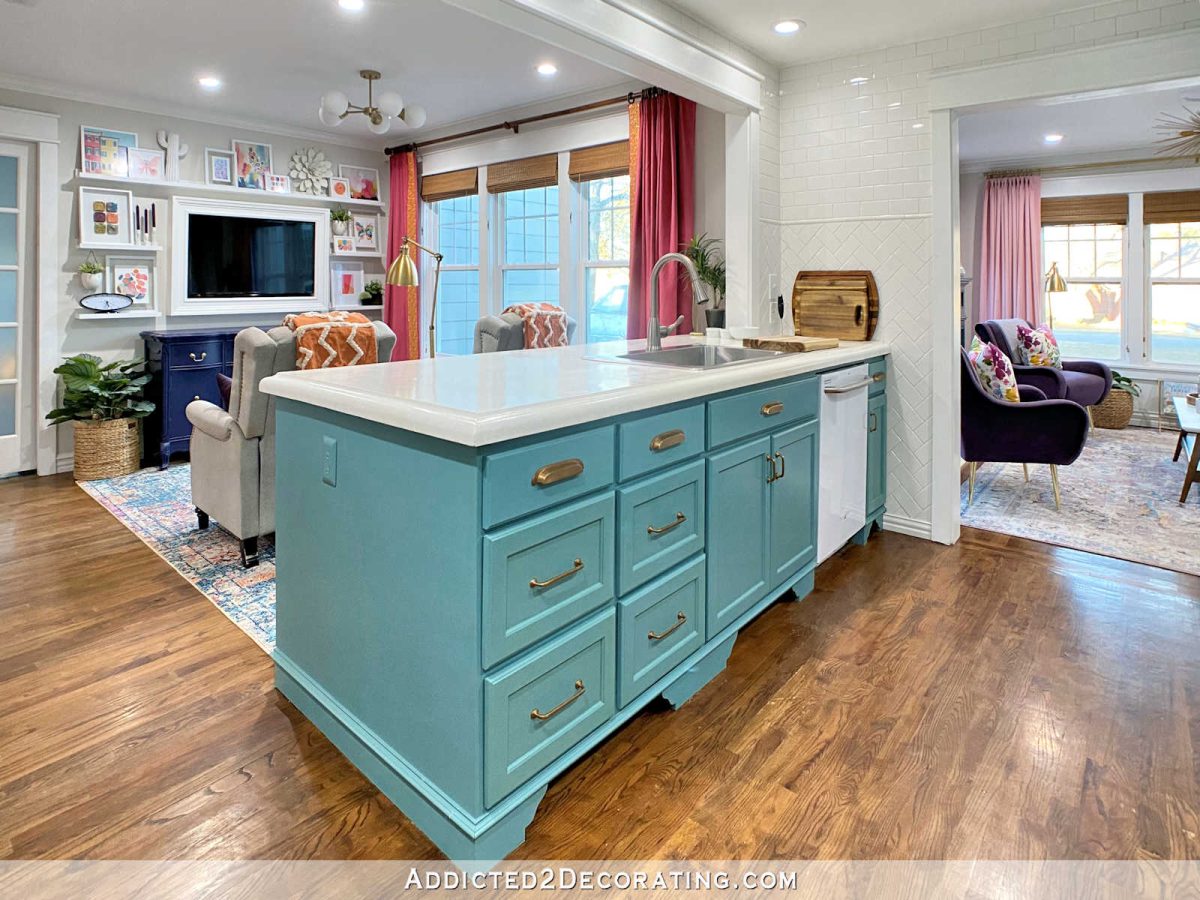
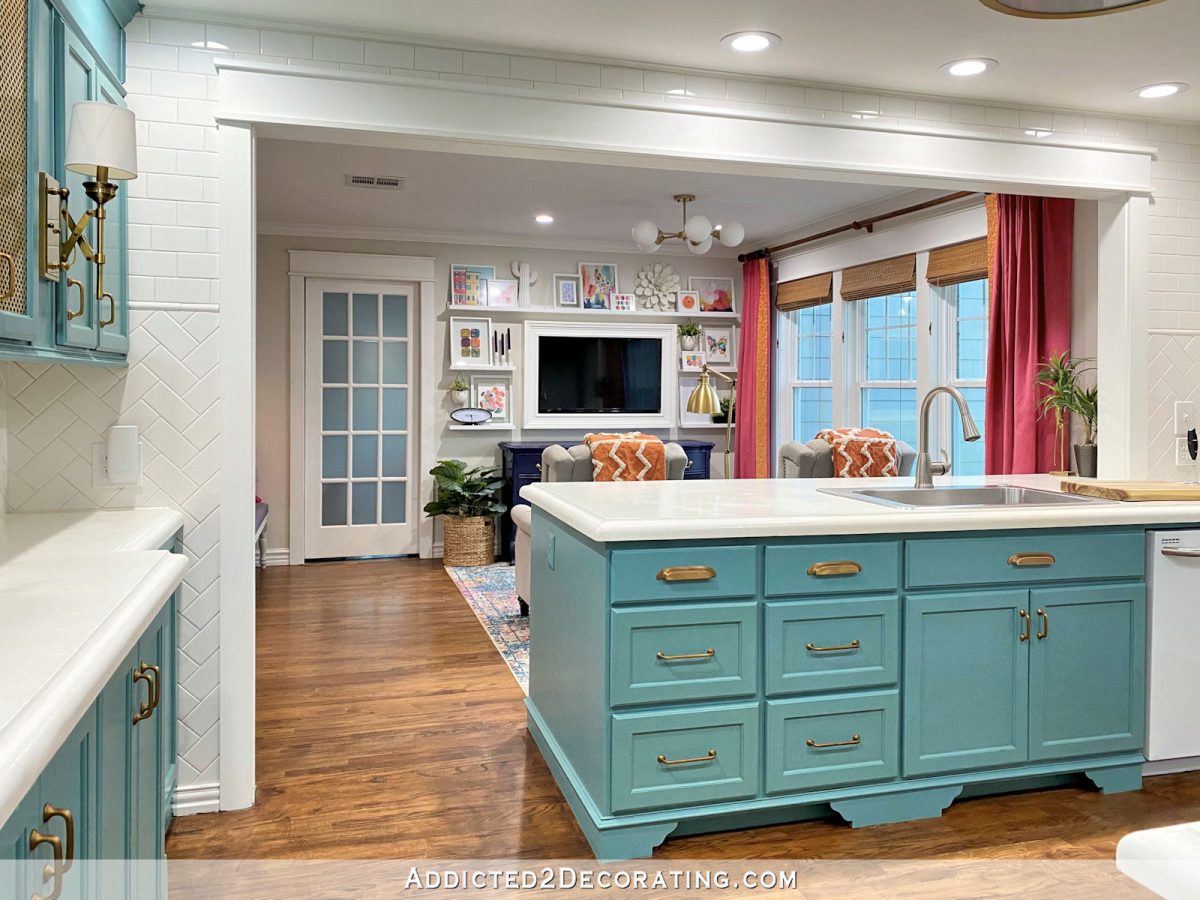
So as you can see, the new kitchen will be in the space that is now the breakfast room and pantry. It will be open to the dining room with a big cased opening. That big cased opening is already there, but right now it’s between the kitchen and the breakfast room with a peninsula separating the two rooms. Currently, it looks like this…
The plan is to move the kitchen sink to the front window wall of the breakfast room/sitting room and close up the door from the breakfast room to my studio. And then this wall that separates the sitting room from the pantry will be removed. I built that wall myself, and it’s nothing but 2×4’s and drywall. There’s nothing structural about that wall (i.e., it’s not load-bearing), and there’s nothing in the wall like electrical or water. So taking that out will be easy peasy.

My mom and I both laughed about the fact that removing that wall basically takes me right back to how this room was originally when we bought this house. It was just one big, open room with two windows on the back wall. And there was a door on the left, which I closed up, and which will be added back in for the new design. 😀

I know that the idea of undoing and redoing things really bothers some people, but I’m the homeowner, and I’m not bothered in the least by this. These rooms have served us very well while we had them. Matt’s sitting room has been very good for him to have, and I’ve gotten a ton of use out of the pantry. But I’m okay with moving on to a more efficient arrangement that will serve us even better. Those rooms were fun to work on, great to live in, and the next ones will be, too.
Anyway, with all of that said, I wanted to play around with the IKEA kitchen planner just to get an idea of what a kitchen might look like in this area. And remember that the studio bathroom will be turned into a walk-through pantry, so that will give me more storage space. But for now, I just wanted to focus on this room, which is 21 feet long and 12′ 3″ wide.
I didn’t take the time yet to determined the exact arrangement of drawers and things like that. For now, I just used cabinets with all drawers for the lowers, and I didn’t consider which items I would store where. So some of those cabinets will certainly be swapped out for other types of cabinets. But I just wanted to get a general feel for what a kitchen would look like in that room, and here’s what I came up with as a jumping off point.
Starting at the front wall, I put the sink centered on the windows. I chose to put the sink here instead of the back wall of this room because the back wall has the sloped ceiling. The ceiling in the current pantry slopes from eight feet to seven feet at the back wall. I’m sure that could be changed, but I don’t know that it would be worth the cost. And I don’t really care if my sink looks out to the front yard or the back yard, just so long as the sink is under windows. That’s my only requirement. It’s what I’ve envisioned ever since I started talking about and planning a new kitchen, so it’s a non-negotiable item.
So here’s the sink under the front windows with the cased opening into the dining room (i.e., the current kitchen) to the right.

The “camera” view of this screen shot makes the proportions look way off, but this is the 21-foot wall. The current doorway from the breakfast room into my studio is about where those cabinets are between the fridge and range. So that would be closed up and a doorway would be added towards the back of the room (to the left of the fridge) that goes into what is now the studio bathroom, but will be a walk-through pantry that leads to the back doors of the studio. Again, try not to be confused by this perspective. The view looks really stretched out from the foreground to the fridge wall. That distance from foreground to the fridge/range wall is really only 12′ 3″ wide, while the actual fridge/range wall is 21 feet long. I don’t know why the perspective and proportions look so distorted.

And here’s a look at the back corner with the doorway to the walk-through pantry and a portion of the back wall. Again, the back wall of the kitchen is where the current pantry. I just put wall-to-wall lower cabinets and as many upper cabinets as I could fit on that wall.

Here’s a straight-on view of the back wall where the current pantry is. The smaller cased opening on the left goes to the new family room, which makes this back wall of countertop a perfect place for buffet-style serving when we have people over.

And then this is the wall with the big cased opening to the dining room on the left and the smaller cased opening to the family room on the right.

So that’s a fun first look of what a kitchen might look like in that space. I’m playing around with the idea of adding an island, but I haven’t settled on that yet. In fact, none of this is set in stone. This was just a fun exercise to get the ball rolling and to help me start envisioning this room as a kitchen, and to imagine the possibilities.
There are still lots of questions to answer, such as:
- I’d like a beverage fridge and a small 15-inch built-in nugget ice machine, so where can those items go?
- Will I keep my stand-alone freezer? And if so, where will it go? Is there enough room in the walk-through pantry? (I think there is.)
- Is the cost reasonable to raise the roof on the back side of the room so that the entire room has an eight-foot ceiling with no slope at the back?
- If it doesn’t break the bank to raise the roof on the back side, am I really as indifferent as I think I am to which end my kitchen sink goes on? (I genuinely don’t know the answer to this question.)
- If I add an island, how big would it be? If the range is centered in on the big cased opening (which my brain tells me it has to be because…symmetry), then there’s no way to have an island centered with the range. Does the range really need to be centered in the cased opening? Would it drive me batty if it weren’t centered? And can an island be off center with the centered range and not drive me crazy? I don’t know that anyone can answer those questions except me, but if I could see pictures of off-center islands and see if it’s the equivalent to nails on a chalkboard for my symmetry-obsessed brain, that would help immensely. So if you come across pictures of kitchen with islands that are off center with the range wall (and where the range wall is the focal point of the kitchen), that would be so helpful!
So I have those and probably many more questions to answer before anything is set in stone. But it sure is fun to start thinking about, dreaming about, and planning this! And of course, I’ll share every detail of every step along the way. 😀
FYI, I had planned to share Part 2 of the chair reupholstery tutorial today because my mom and I worked until 8:00pm last night and got all but the trim, nailheads, and separate seat cushion finished. It looks SO GOOD, and I can’t wait for you to see it!
I knew I had taken lots of pictures, so I thought it would be good to break it down into two more posts so that I don’t overwhelm you with so many pictures in one post, and we finished up last night at a natural stopping point. But when I sat down at my computer this morning and counted the pictures, I realized I had taken seventy-one pictures. 😀
I realized immediately that there’s no way I could sort through seventy-one pictures, edit them, post them, and write a thorough description of the process all before 11:30am when I need to leave the house. (On Wednesdays, I have lunch with my mom and brother.) So I’ll post Part 2 tomorrow showing the bulk of the upholstering process, and then the final post on Friday showing the process of trimming out the chair, making the cushion, and I’ll show you the finished chair. Y’all, it’s so gorgeous that I almost hate to sit on it! 😀

Addicted 2 Decorating is where I share my DIY and decorating journey as I remodel and decorate the 1948 fixer upper that my husband, Matt, and I bought in 2013. Matt has M.S. and is unable to do physical work, so I do the majority of the work on the house by myself. You can learn more about me here.